Homemade Dutch Oven Bread
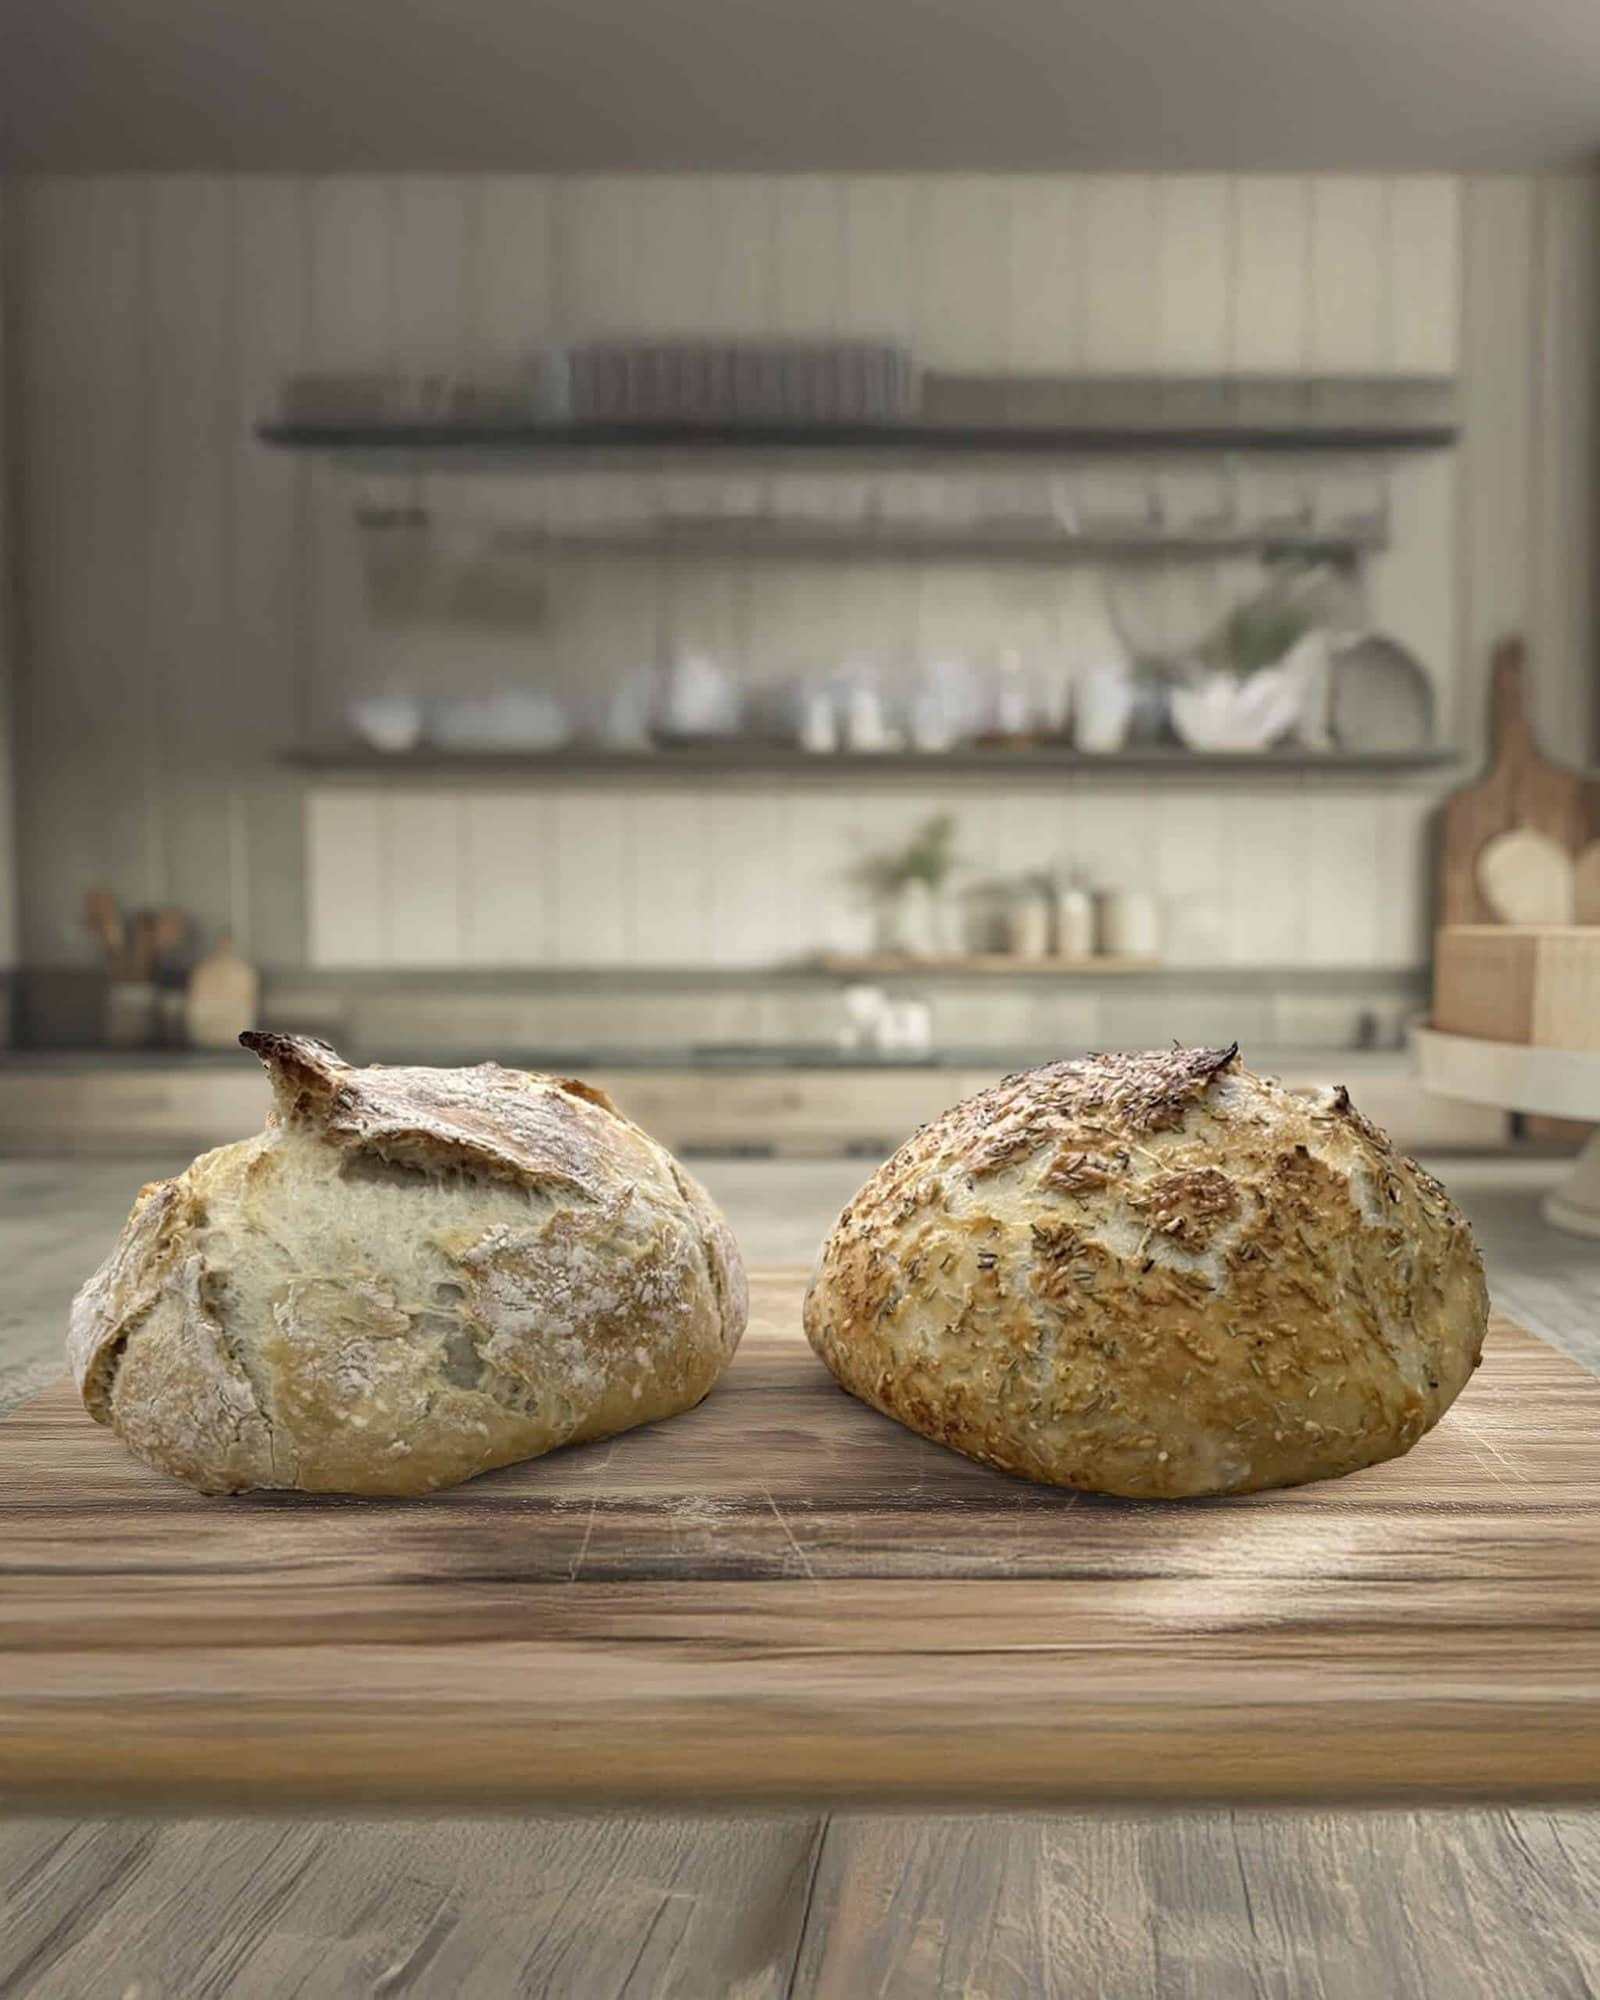
Making rustic bread in a Dutch oven is a simple and rewarding way to create a bakery-quality loaf at home. With just a few basic ingredients—flour, water, yeast, and salt—you can craft a crusty, golden bread with a soft, airy interior.
This bread is the perfect example of how a few simple ingredients can be combined to make something so delicious! If you’ve been scared of trying to make your own yeast bread, this is the one you want to try! In only about 5 minutes you can make the dough. You can let it rise and bake it that day, or you can pop it in your fridge and bake it later. It’s such a no-fuss recipe!

If you’ve been wanting to make your own bread, but are scared to try anything too adventurous or time-consuming, this is a wonderful bread to start with! It’s a delicious simple bread, but is also adaptable to different flavor combinations with very little extra time and effort!
Confidence in the ingredients you use!
Knowing exactly what ingredients are going into the foods your family eats is such a satisfying feeling! With the concern of more and more chemicals going into our foods today, going back to basics with this homemade Dutch oven yeast bread can be such a blessing to you and your family! The bonus is that it tastes delicious too!
Do I have to bake bread as soon as the dough rises?
What if I mix up the dough and then don’t have time to bake the bread that day? No worries! This dough can actually be stored in the refrigerator for up to 3 days. In fact, I like it better that way. Giving the dough the extra time before baking simply enhances the flavor, so if life gets busy and you need to delay baking for 2-3 days, this bread is still going to be perfect!
Great options on how to use this bread!
This bread is great sliced up to go along with any meal! It also makes one of the best grilled cheese sandwiches or toasted up in the morning to make some avocado toast! Anything you use normal sandwich bread for, this bread can easily be used and make it even better!
Dutch Oven Bread
Equipment
- 1 Dutch Oven
Ingredients
- 3 cups flour
- 1 package instant or rapid rise yeast
- 2 tsp kosher salt
- 1 1/2 cups very warm water (not hot)
Instructions
- Mix Dough: Mix flour, yeast and salt in a large bowl.
- Add water, then use wooden spoon to mix until all the flour is incorporated.
- Dough will be wet and sloppy – not kneadable, but not runny like cake batter.
- Adjust with more water or flour if needed for right consistency
- Cover with cling wrap or plate, leave on counter for 2 – 3 hours until it doubles in volume
- Optional – refrigerate for flavor development: At this stage, you can either bake immediately or refrigerate for up to 3 days
- Take chill out of refrigerated dough – if you refrigerated dough per above, leave the bowl on the counter for 45 – 60 minutes while the oven is preheating. Cold dough does not rise as well.
- Preheat oven – Put dutch oven in oven with lid on (26cm/10" or larger). Preheat to 450°F 30 minutes prior to baking.
- Shape dough: Sprinkle work surface with 1 tbsp flour, scrape dough out of bowl. Sprinkle top with 1/2 tbsp flour.
- Using a dough scraper or anything of similar shape (cake server, large knife, spatula), fold the sides inwards about 6 times to roughly form a roundish shape. Don’t be too meticulous here – you’re about to deform it, it’s more about deflating the bubbles in the dough and forming a shape you can move.
- Slide a large piece of parchment/baking paper next to the dough, then flip the dough upside down onto the paper. Slide/push it towards the middle, then reshape it into a round shape. (It does not have to be the perfect shape at all)!
- Remove piping hot dutch oven from oven. Use paper to place dough into pot, place lid on.
- Bake 30 minutes covered, then 12 minutes uncovered or until deep golden and crispy.
- Cool on rack for 10 minutes before slicing.


I would love to make this bread, but I don’t own a Dutch Oven. Could I use a cast-iron skillet and tent it with foil, then remove it for the final baking?
I think that would work well. My dutch oven is cast iron, covered in porcelain enamel, so your cast iron should work in a similar fashion!