Homemade Cast Iron Skillet Bread
Five Ingredients, One Skillet, and About Five Minutes of Actual Work
This is the homemade bread recipe I reach for when I want something warm on the table without a lot of fuss. Five ingredients — and one of them is water. No mixer, no bread machine, no Dutch oven. You stir the dough together by hand in about five minutes, let it rest in the refrigerator while you go on about your day, then knead it for a minute or two and bake it right in an open cast iron skillet. What comes out is a beautiful round loaf with a light, crispy crust and soft, tender bread inside. It’s the kind of bread that turns a simple bowl of soup into a real meal, and the kind you’ll keep going back to the kitchen for one more slice of.
This post contains affiliate links. If you buy through one of them, we may earn a small commission at no extra cost to you. We only share products we actually use in our own kitchen.
A Loaf That Makes the Whole Meal
There is nothing better than good homemade bread. I really believe that. You can put a simple pot of soup on the table, or a plate of something you’ve made a hundred times, and the minute you set out a warm loaf of bread next to it, the whole meal feels like something.
We posted a Dutch oven bread recipe a while back, and this one is a close cousin to it — just a couple of small differences. The big one is that we’re not covering it. This bakes uncovered in an open cast iron skillet, and that’s what gives you that light crispiness on the outside instead of the thick, chewy crust you get from a covered pot. I love them both, but if you’ve been wanting to make homemade bread and you don’t own a Dutch oven, this is your recipe. Your cast iron skillet will do the job beautifully.
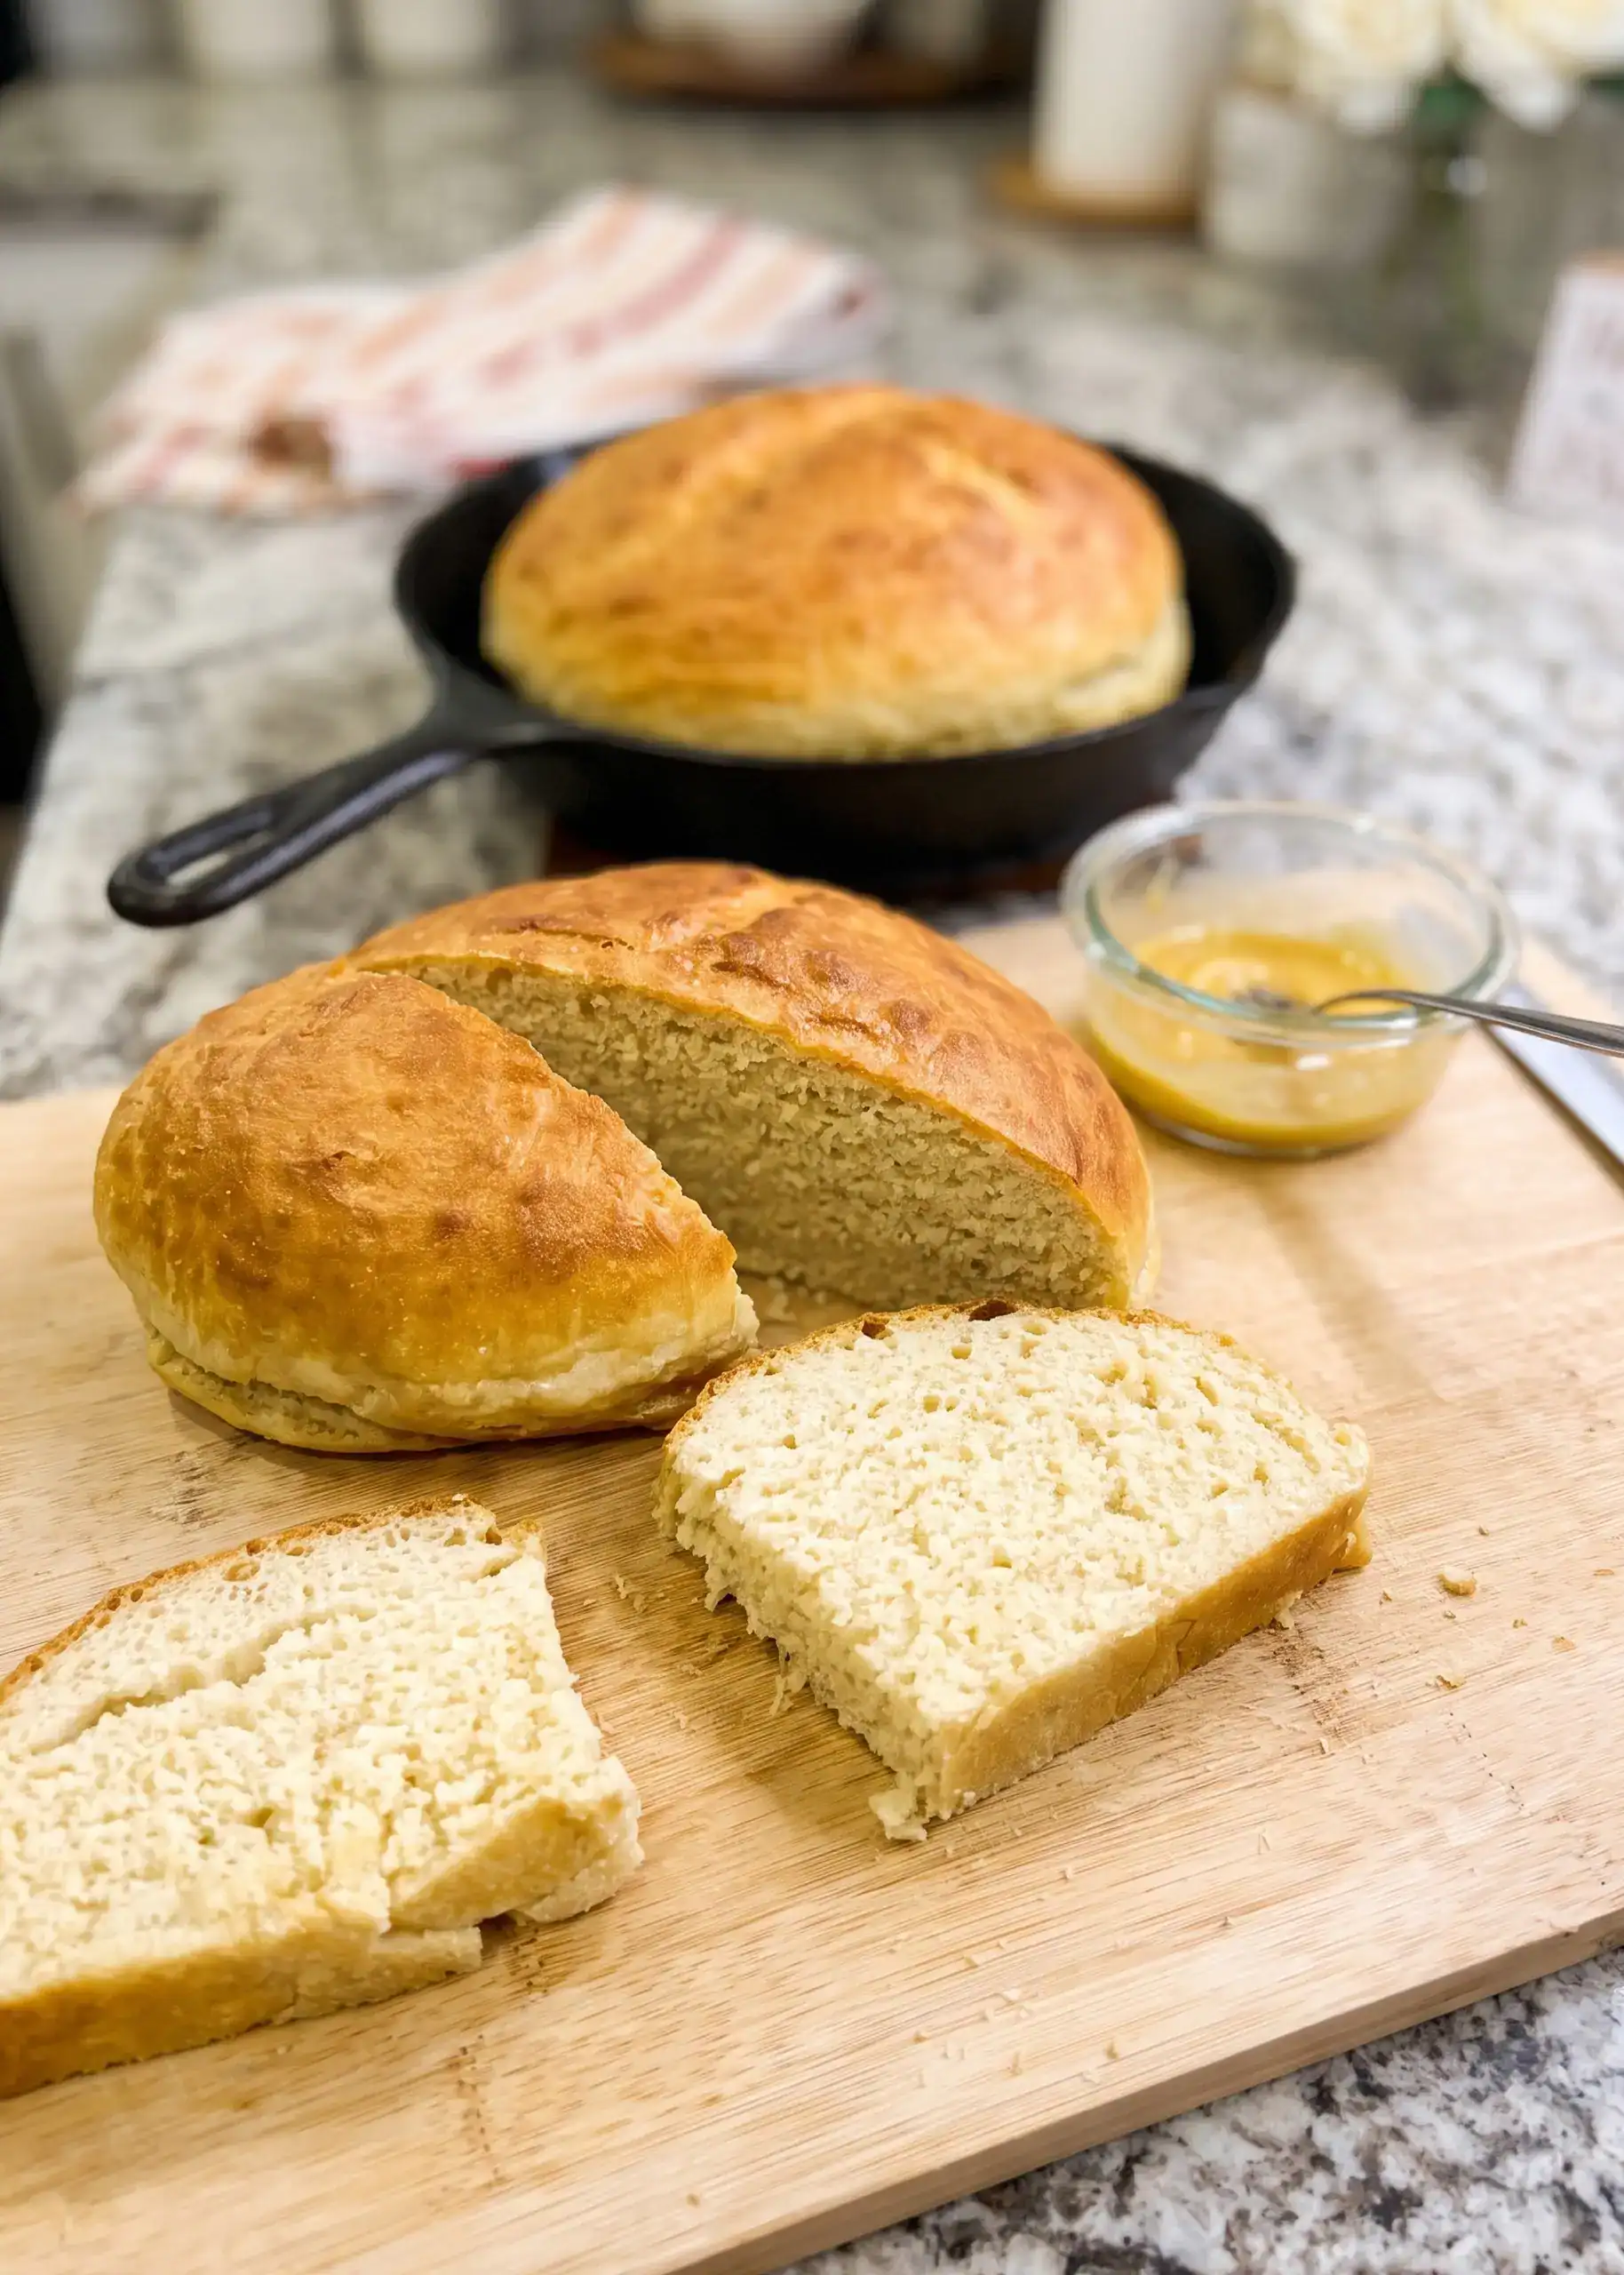
Now, I’ll be honest with you about the day we filmed this. Our oven quit working right in the middle of the bake, so the temperature was off for part of it. When we cut into it, the very center was just a little softer than I’d have liked — not underdone, just not quite as set as it should have been. I’m telling you that so you’ll know two things: first, that a full 30 minutes at 425 degrees would have been perfect, and second, that this bread is forgiving. Even with our oven acting up, it was still so good we sat there eating it warm with butter and honey while the camera was still rolling. Darren took the first bite and could barely get a word out — which, if you’ve been around here a while, you know is the highest compliment he gives.
Speaking of the butter and honey — that’s an old habit of mine. Growing up, we used to mix sorghum molasses and butter together and spread it on hot biscuits in the morning. I didn’t have any sorghum in the house that day, so we did it with honey instead, and it was every bit as good. If you’ve never tried mixing butter with something sweet and spreading it on warm bread, do it. And if you’d rather go the other direction, a little olive oil with good seasonings for dipping is wonderful too. This is the kind of bread that if a restaurant brought it to your table, you’d be flagging the waiter down asking for more.
Homemade Cast Iron Skillet Bread Recipe
Prep Time: 10 minutes (active) Rest Time: 2 hours in the refrigerator + 30 minutes in the pan Bake Time: 30 minutes Total Time: About 3 hours 10 minutes Servings: 1 loaf (about 10–12 slices)
Ingredients
- 2 cups warm water
- 1 packet rapid rise yeast
- 1 tablespoon honey
- 4 cups bread flour
- 1 1/4 teaspoons kosher salt
- 1 to 2 teaspoons oil, for the bowl (optional)
- Shortening, oil, or bacon grease, for greasing the skillet
- Butter, for brushing the top (optional)
Instructions
- Pour 2 cups of warm water into a large bowl. You want it warm enough to activate the yeast but not so hot that it kills it — think comfortably warm on your wrist, not steaming.
- Add 1 packet of rapid rise yeast and 1 tablespoon of honey. Give it a stir and let it sit for at least 5 minutes. You’re looking for it to get foamy with lots of little bubbles coming up. That’s how you know your yeast is alive and working.
- Add 4 cups of bread flour. Use the dip, level, and pour method — dip your measuring cup, level it off with a straight edge, and pour it in — so you don’t end up packing in too much flour.
- Add 1 1/4 teaspoons of kosher salt.
- Stir it all together by hand with a spoon. You do not need a mixer for this, and you don’t want to over mix bread dough. Just stir until the flour is incorporated into the liquid — that’s usually only a few turns of the spoon. Give it one or two more to be sure, and stop there.
- This next part is optional, but I do it every time: drizzle a teaspoon or two of oil (no more than a tablespoon) over the dough and work it around with your hand. It keeps the dough from sticking to the bowl and makes it so much easier to turn out later.
- Cover the bowl with plastic wrap, a towel, or a beeswax cover, and put it in the refrigerator for at least 2 hours. You can leave it until the next day if that fits your schedule better. That cold rest is where the flavor develops, so don’t skip it. (I used a beeswax bowl cover from Revahope for this one — I’d seen them floating around the internet for a while and had never tried them. They come in a whole range of sizes with elastic edges, so they’ll stretch over whatever bowl you’ve got. They gave our subscribers 10% off through that link.)
- When you’re ready to bake, grease your cast iron skillet well — bottom and sides. Shortening, oil, or bacon grease all work; use whichever you like.
- Sprinkle a little flour on a clean surface and turn the dough out. It will be sticky at this point, so work a little flour into it as you knead. Just do quarter turns and keep going until the stickiness is gone. Mine took about 10 to 12 turns — this is not a long kneading job.
- Shape the dough into a round and set it right in the center of your greased skillet.
- If you want to, take a razor blade or a sharp knife and cut a few slits in the top. I just go crisscross. It gives you some pretty crusty edges, but it’s purely optional — the bread bakes just fine without it.
- Let the bread rest in the pan for 30 minutes. About halfway through that rest, preheat your oven to 425°F so it’s fully heated when the bread goes in.
- Bake for 30 minutes. Check it a few minutes early if your oven runs hot, just to make sure the top isn’t getting too brown.
- When it comes out, brush the top lightly with butter if you’d like a slightly softer crust. If you want it extra crispy, skip this step — the top is beautiful either way.
- Let it cool just a bit, then lift it out of the pan (it should come right out) and slice into it while it’s still warm.
Frequently Asked Questions
Can I use all-purpose flour instead of bread flour? You can, but the texture will be different. Bread flour is lighter and gives you better structure and chew in a yeast bread. If all-purpose is what you have, go ahead and make it — just know the loaf will be a little softer and less lofty.
Do I have to use a cast iron skillet? No. Cast iron gives you the best crust because it holds heat so evenly, but any oven-safe skillet or a round cake pan will work. Just grease it well.
How is this different from Dutch oven bread? It’s a very similar dough, but Dutch oven bread bakes covered, which traps steam and gives you a thicker, chewier crust. This one bakes uncovered in an open skillet, so you get a lighter, crispier crust and a soft interior.
Can I skip the refrigerator rest? I don’t recommend it. That two-hour cold rest is doing two jobs: developing flavor and getting the dough to the right consistency for kneading. Two hours is the minimum, and overnight is even better.
How long can the dough stay in the refrigerator? Through the next day is fine. If anything, the flavor gets better. Just keep it covered.
Can I use active dry yeast instead of rapid rise? Yes. Active dry yeast may take a little longer to foam up in the water — give it closer to 10 minutes and make sure you see good bubbles before you add the flour.
How do I know when the bread is done? The top should be golden brown and the loaf should sound hollow when you tap the bottom. If you want to be certain, an instant-read thermometer in the center should read about 200°F.
Why is the center of my loaf a little soft? Usually that means it needed a few more minutes, or your oven temperature was off. Ours quit on us mid-bake the day we filmed, so I know that one firsthand. A full 30 minutes at a steady 425°F does the job.
Do I have to score the top? Not at all. The slits give you those pretty crusty ridges, but the bread bakes up beautifully without them.
How should I store it? Wrap it in a clean towel or a paper bag at room temperature for a day or two — that keeps the crust from going soft. For longer than that, slice it and freeze it in a zip-top bag, then toast the slices straight from frozen.
What goes well with it? Any soup or chili you’ve got. It’s also wonderful with butter and honey mixed together, or torn and dipped in olive oil with Italian seasoning.
Homemade Cast Iron Skillet Bread
Equipment
- Large mixing bowl
- 10-inch cast iron skillet
- Wooden spoon
- Plastic wrap, towel, or beeswax bowl cover
- Razor blade or sharp knife (optional, for scoring)
Ingredients
- 2 cups warm water
- 1 packet rapid rise yeast
- 1 tablespoon honey
- 4 cups bread flour
- 1 1/4 teaspoons kosher salt
- 1 to 2 teaspoons oil for coating the dough (optional)
- Shortening oil, or bacon grease, for greasing the skillet
- Butter for brushing the top (optional)
Instructions
- Pour the warm water into a large bowl. It should be warm enough to activate the yeast but not hot enough to kill it.
- Add the rapid rise yeast and honey. Stir and let sit at least 5 minutes, until foamy and bubbly.
- Add the bread flour using the dip, level, and pour method so you don’t pack in too much.
- Add the kosher salt.
- Stir by hand just until the flour is incorporated. Do not over mix — a few turns of the spoon is enough.
- Optional: drizzle 1 to 2 teaspoons of oil over the dough and work it around by hand so it releases easily from the bowl later.
- Cover the bowl and refrigerate at least 2 hours, or until the next day.
- Grease a cast iron skillet well on the bottom and sides with shortening, oil, or bacon grease.
- Turn the dough out onto a lightly floured surface. Knead with quarter turns, working in flour until the stickiness is gone — about 10 to 12 turns.
- Shape the dough into a round and place it in the center of the greased skillet.
- Optional: score the top with a few crisscross slits using a razor blade or sharp knife.
- Let the bread rest in the pan for 30 minutes. Halfway through, preheat the oven to 425°F.
- Bake for 30 minutes, checking a few minutes early if your oven runs hot.
- Optional: brush the top lightly with butter for a slightly softer crust. Skip for extra crispness.
- Cool slightly, lift from the pan, and slice while still warm.
Video
Notes
- Bread flour gives the best structure and chew, but all-purpose will work in a pinch — the loaf will be a little softer.
- Active dry yeast can be substituted for rapid rise. Give it closer to 10 minutes in the water and make sure it foams before adding the flour.
- The cold rest is where the flavor develops. Two hours is the minimum; overnight is even better.
- The bread is done when the top is golden and the loaf sounds hollow when tapped on the bottom. An instant-read thermometer in the center should read about 200°F.
- Store wrapped in a towel or paper bag at room temperature for up to two days, or slice and freeze in a zip-top bag.