Brown Butter Chocolate Chip Cookies
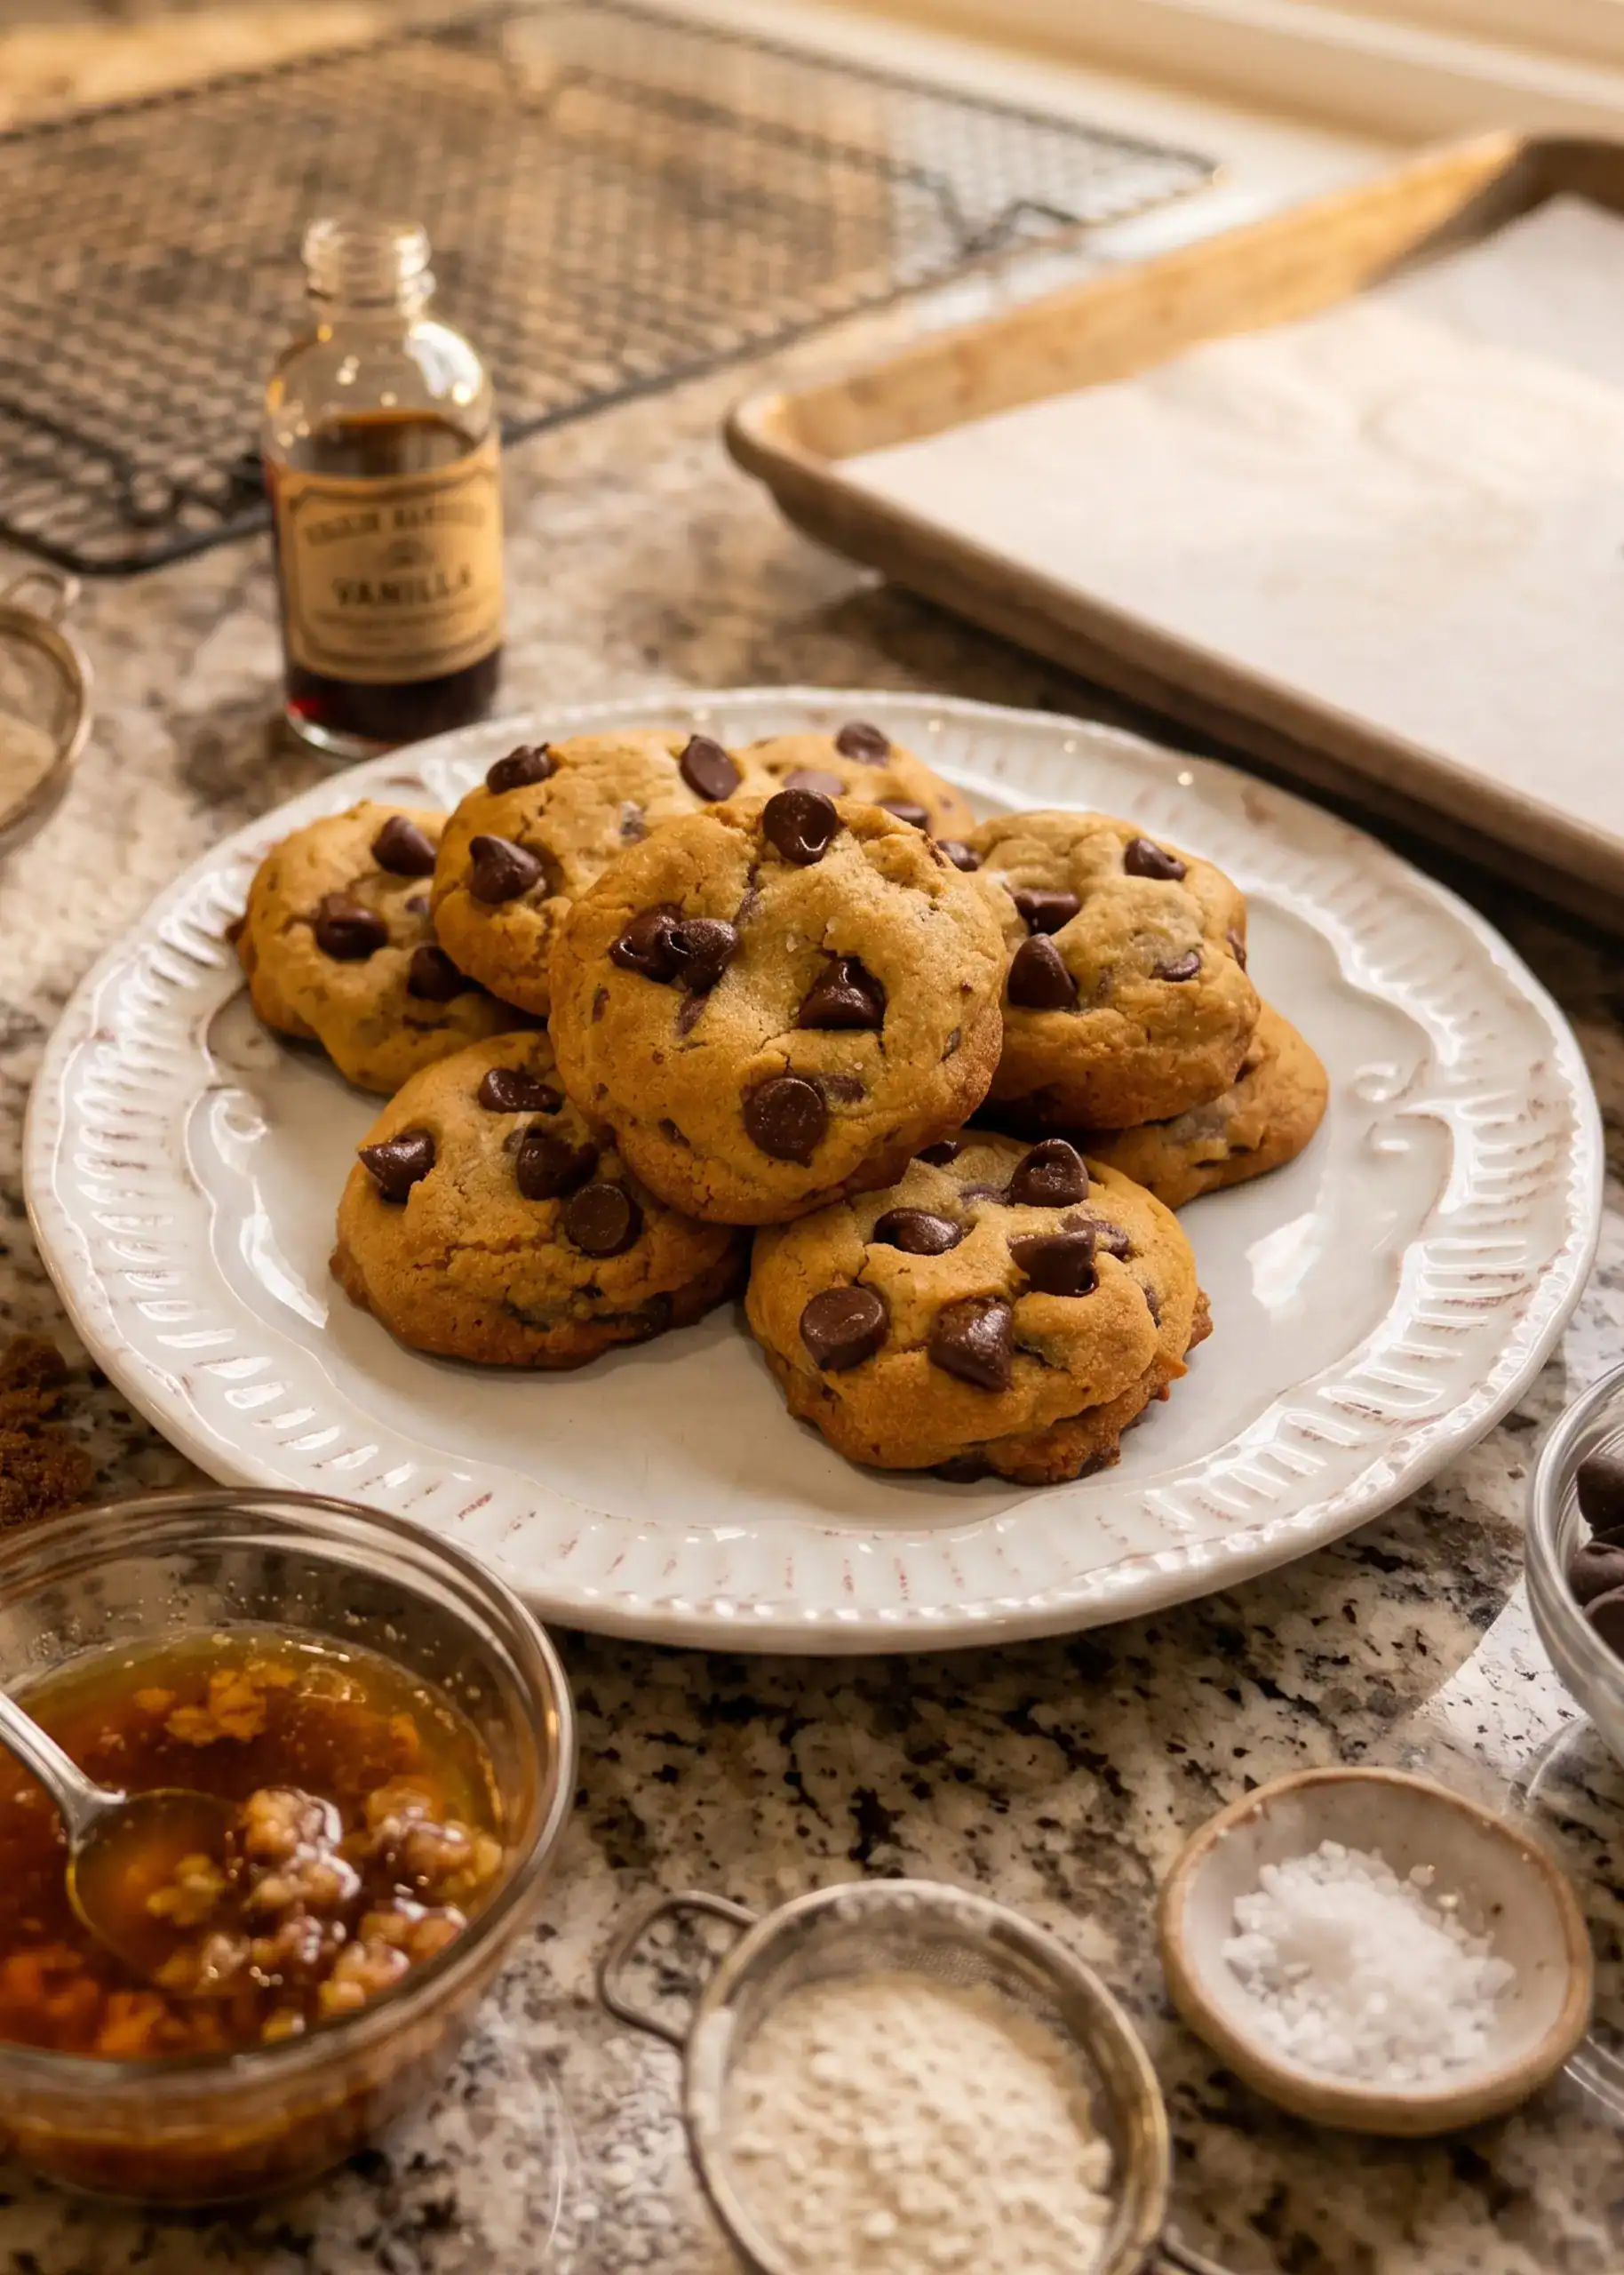
These brown butter chocolate chip cookies take one classic recipe and add one extra step — browning the butter — and that single step changes everything. You get a deep caramel-toffee flavor underneath the chocolate, edges that are just barely crisp, and a center that stays soft and chewy for days.
Here’s the honest version: this is not a fifteen-minute cookie. The butter has to brown, then cool, then chill. The dough has to chill again before it ever sees the oven. But every one of those waiting periods is doing something, and you can taste it.
What makes these different:
- Browned butter adds a nutty, caramel note you can’t get any other way
- An extra egg yolk and a teaspoon of cornstarch keep the middles soft
- A splash of milk replaces the moisture that cooks out of the butter
- Flaky salt on top makes the chocolate taste more like chocolate
- Everything is a pantry ingredient — nothing special to buy
If you want a really good chocolate chip cookie for a special occasion, this is the one.
Why I Finally Made These
I’ll be honest with you — I had never made brown butter chocolate chip cookies before the day we filmed this one. Not once. I’ve had a chocolate chip cookie recipe I’ve loved for years, and when you have something that works, it’s easy to just keep making it.
But I kept hearing about these. Everybody talks about brown butter like it’s some kind of secret, and I finally got curious enough to find out whether all the hype was worth it. So we made them together, and I didn’t know what the answer was going to be any more than you did.
The browning itself is the part that made me a little nervous, and I think that’s the part that keeps most people from trying. You’re standing at the stove with a whisk in your hand watching butter change color, and there’s a real moment where you have to decide it’s done. Go a little too far and it’s burned. But once you’ve done it one time, you’ll know exactly what you’re looking for, and I’ll walk you through every stage of it.
Then you wait. The butter cools on the counter, then goes in the refrigerator for an hour to ninety minutes. The dough chills for two more hours after that. I know that feels like a lot, and I’m not going to pretend otherwise.
When we finally tasted them, the first thing I noticed wasn’t even the flavor — it was the texture. That texture is perfect. Then the flavor comes through behind it, and it’s just a little bit different than a regular chocolate chip cookie. Not dramatically. It’s still a chocolate chip cookie. But there’s a caramel note, maybe a little toffee, sitting underneath everything. My second bite was better than my first.
So will it replace my favorite recipe? Not every single time. Some days you need cookies in an hour, and there’s absolutely nothing wrong with the quick version — I love those too. But if I want a really good chocolate chip cookie, something a little bit elevated for a special occasion, this one is a contender. It’s worth your try at least one time.
Brown Butter Chocolate Chip Cookies
Prep Time: 30 minutes Chill Time: 3 hours 30 minutes Cook Time: 10 minutes Total Time: 4 hours 10 minutes Servings: About 24 cookies
Ingredients
For the brown butter:
- 1 cup (2 sticks) butter
For the cookie dough:
- 1/2 cup granulated sugar
- 1 cup light brown sugar, packed
- 1 large egg
- 1 large egg yolk
- 1 teaspoon vanilla extract
- 2 tablespoons milk, room temperature
- 2 1/2 cups all-purpose flour, spooned and leveled
- 1 teaspoon cornstarch
- 1 teaspoon baking soda
- 1/2 teaspoon salt
- 1 3/4 to 2 cups semi-sweet chocolate chips
- Flaky sea salt or kosher salt, for sprinkling
Instructions
- Brown the butter. Cut both sticks of butter into smaller chunks so they melt evenly, and put them in a light-colored pan. Use a light pan if you have one — it makes it so much easier to see those little brown bits as they start to form. A dark pan hides them. Set it over medium heat.
- Whisk the whole time. Once the butter melts, keep whisking. It’ll start to foam, especially around the edges of the pan — that’s exactly what it’s supposed to do. Give it about 7 to 8 minutes total.
- Watch for the signs. You’re looking for three things: a deeper golden color, more foam than you had a few minutes ago, and a different consistency — it starts to feel like it wants to stick to the pan a little. Then the foam starts going away, and underneath you’ll see it getting darker with little brown flecks forming. That’s your brown butter.
- Pull it off the heat. This is the part you have to watch closely. You want it browned, not burned, so as soon as those flecks are there, take it off the burner.
- Get every bit of it. Pour it straight into your mixing bowl and use a spatula to scrape all those brown bits out of the pan. That’s where all the flavor is — don’t leave any of it behind.
- Cool, then chill. Let it sit on the counter for 10 minutes, then move it to the refrigerator for 1 hour to 90 minutes. If yours gets a little too cold and firm, just set it out on the counter about 10 minutes before you’re ready to make the dough.
- Cream the butter. Put the paddle attachment on your mixer and beat the chilled brown butter for 1 to 2 minutes. It looks a little funky at first, but it comes together into something smooth and creamy. You’ll still see those brown bits down in there, and that’s what you want.
- Add the sugars. Add the granulated sugar and the brown sugar and cream everything together.
- Add the eggs and vanilla. In goes the whole egg plus the extra yolk, and the teaspoon of vanilla. Mix until combined.
- Whisk the dry ingredients separately. Measure your flour using the spoon-and-level method — spoon it into the cup and let it sit loosely, then level it off. Do not pack it in. Add the cornstarch, baking soda, and salt to the flour and give it a quick whisk so everything is distributed before it goes into the dough.
- Add the dry to the wet. Add the flour mixture a little at a time — start with about a cup, then work in the rest. Scrape down the sides of the bowl to make sure everything is getting incorporated.
- Add the milk. Now add 2 tablespoons of room temperature milk. Here’s why: when you brown butter, part of the water in it evaporates. So you have less liquid in this recipe than you would with a plain cup of butter. The milk puts that moisture back. If yours is cold, warm it for a few seconds first.
- Mix in the chocolate chips. Add most of the chocolate chips and let the mixer work them in. Hold back a small handful — you’ll want those in a minute.
- Scoop and decorate. Use a cookie scoop to portion the dough onto a lined baking sheet. I did 8 to a sheet since I wasn’t sure how much they’d spread. Take those reserved chips and press a few into the top of each cookie. This is purely for looks, but it makes such a pretty finished cookie.
- Chill the dough. Into the refrigerator for at least 2 hours. Longer is fine. They turn out best if you don’t skip this.
- Salt and bake. Right before they go in, sprinkle a little flaky salt or kosher salt over the top of each one. Bake at 375°F. The recipe says 12 to 14 minutes, but I do not like my cookies overbaked, so I check mine at 10 — and 10 was exactly right for me. You want browned edges and a center that still looks soft.
- Let them cool. Give them a few minutes on the pan before you taste one. I know that’s hard.
Frequently Asked Questions
Why do you brown the butter? Browning cooks the milk solids in the butter until they toast, and that’s what creates the nutty, caramel-toffee flavor. It’s the entire difference between these and a regular chocolate chip cookie.
How do I know when the butter is browned and not burned? Look for three signs together: a deep golden color, the foam starting to disappear, and little brown flecks in the bottom of the pan. The second you see those flecks, take it off the heat. Butter goes from brown to burned quickly, so don’t walk away from it.
Why does the recipe say to use a light-colored pan? So you can actually see what’s happening. In a dark pan, those brown bits blend right in with the pan and you’ll miss the moment.
Can I skip chilling the dough? I wouldn’t. The chill firms the fat back up so the cookies don’t spread thin, and it gives the flour time to hydrate. Two hours is the minimum here — you can go longer.
Why is there milk in a cookie recipe? Because browning butter evaporates some of its water content. Without the milk, this dough would be drier than a standard chocolate chip cookie dough. Two tablespoons puts that moisture back.
What does the cornstarch do? It keeps the centers soft and tender. It’s a small amount, but it’s part of what gives these cookies their texture.
Why the extra egg yolk? Extra yolk means extra fat and richness, and it helps the cookies stay chewy instead of drying out.
Can I use a different kind of chocolate? Absolutely. I used semi-sweet chips here, but dark chocolate chunks or a chopped chocolate bar would be wonderful. Use somewhere between 1 3/4 and 2 cups depending on how much chocolate you like.
Do I have to put salt on top? No, but I’d encourage you to try it. The salt makes the chocolate taste more like chocolate. Flaky sea salt or kosher salt both work.
How long do these keep? Store them in an airtight container at room temperature and they’ll stay soft for about 4 to 5 days. The scooped dough also freezes beautifully — freeze the balls solid, bag them, and bake from frozen with an extra minute or two.
Are these better than regular chocolate chip cookies? They’re different, and they’re a little elevated. The flavor has that caramel note and the texture is wonderful. But they take longer, and there are days when a regular chocolate chip cookie is exactly right. I’d call this one a special-occasion cookie.
I hope you’ll give these a try. If you do, I’d love to hear what you think. a journey of pure delight, offering the perfect harmony of sweet, tangy, and refreshing flavors.
Brown Butter Chocolate Chip Cookies
Equipment
- Light-colored saucepan
- Whisk
- Stand mixer with paddle attachment
- Rubber spatula
- Cookie scoop
- Baking sheets
- Parchment paper or silicone mats
- Wire cooling rack
Ingredients
For the Brown Butter
- 1 cup butter cut into chunks (2 sticks)
For the Cookie Dough
- 1/2 cup granulated sugar
- 1 cup light brown sugar packed
- 1 large egg
- 1 large egg yolk
- 1 teaspoon vanilla extract
- 2 tablespoons milk room temperature
- 2 1/2 cups all-purpose flour spooned and leveled
- 1 teaspoon cornstarch
- 1 teaspoon baking soda
- 1/2 teaspoon salt
- 1 3/4 cups semi-sweet chocolate chips up to 2 cups, to taste
- Flaky sea salt or kosher salt for sprinkling
Instructions
Brown the Butter
- Cut the butter into smaller chunks so it melts evenly and place it in a light-colored saucepan. A light pan lets you see the brown bits form — they’re much harder to spot in a dark pan. Set over medium heat.
- Once the butter melts, whisk continuously. It will foam, especially around the edges of the pan. Keep going for about 7 to 8 minutes total.
- Watch for three signs: a deeper golden color, more foam than a few minutes earlier, and a slightly different consistency where the butter starts wanting to stick to the pan. Then the foam will begin to subside and little brown flecks will form in the bottom.
- As soon as those brown flecks appear, pull the pan off the heat. Butter goes from browned to burned quickly, so don’t walk away from it.
- Pour the brown butter into your mixing bowl and scrape the pan well with a spatula to get every brown bit. That’s where all the flavor lives.
- Let it cool on the counter for 10 minutes, then refrigerate for 1 hour to 90 minutes. If it firms up too much, set it out for about 10 minutes before making the dough.
Make the Dough
- Using the paddle attachment, beat the chilled brown butter for 1 to 2 minutes until it looks smooth and creamy. It will look a little funky at first — keep going.
- Add the granulated sugar and brown sugar and cream together.
- Add the whole egg, the extra egg yolk, and the vanilla. Mix until combined.
- In a separate bowl, whisk together the flour, cornstarch, baking soda, and salt. Measure the flour by spooning it into the cup and leveling — do not pack it.
- Add the dry ingredients to the dough a little at a time, starting with about a cup. Scrape down the bowl to make sure everything is incorporated.
- Add the room temperature milk. Browning the butter evaporates some of its water, so this replaces that lost moisture.
- Mix in most of the chocolate chips, reserving a small handful for the tops.
Chill and Bake
- Scoop the dough onto lined baking sheets, about 8 per sheet to allow for spreading. Press a few of the reserved chocolate chips into the top of each cookie for a prettier finished look.
- Refrigerate the scooped dough for at least 2 hours. Longer is fine. Don’t skip this step — the cookies turn out best with a good chill.
- Preheat the oven to 375°F. Sprinkle a little flaky sea salt or kosher salt over the top of each cookie.
- Bake and check at 10 minutes. The recipe range is 12 to 14 minutes, but 10 gives a soft center with just-browned edges. Bake to your preference.
- Let the cookies cool on the pan for a few minutes before moving them to a wire rack.
Video
Notes
- Use a light-colored pan. It’s the easiest way to judge when the butter is properly browned.
- Don’t skip either chill. The brown butter chill and the dough chill both matter for texture and spread.
- Room temperature milk mixes in cleanly. If yours is cold, warm it for a few seconds first.
- Storage: airtight container at room temperature for 4 to 5 days.
- Freezing: freeze scooped dough balls solid, transfer to a freezer bag, and bake from frozen adding 1 to 2 minutes.
- Chocolate: swap in dark chocolate chunks or chopped chocolate bar. Use 1 3/4 to 2 cups depending on preference.