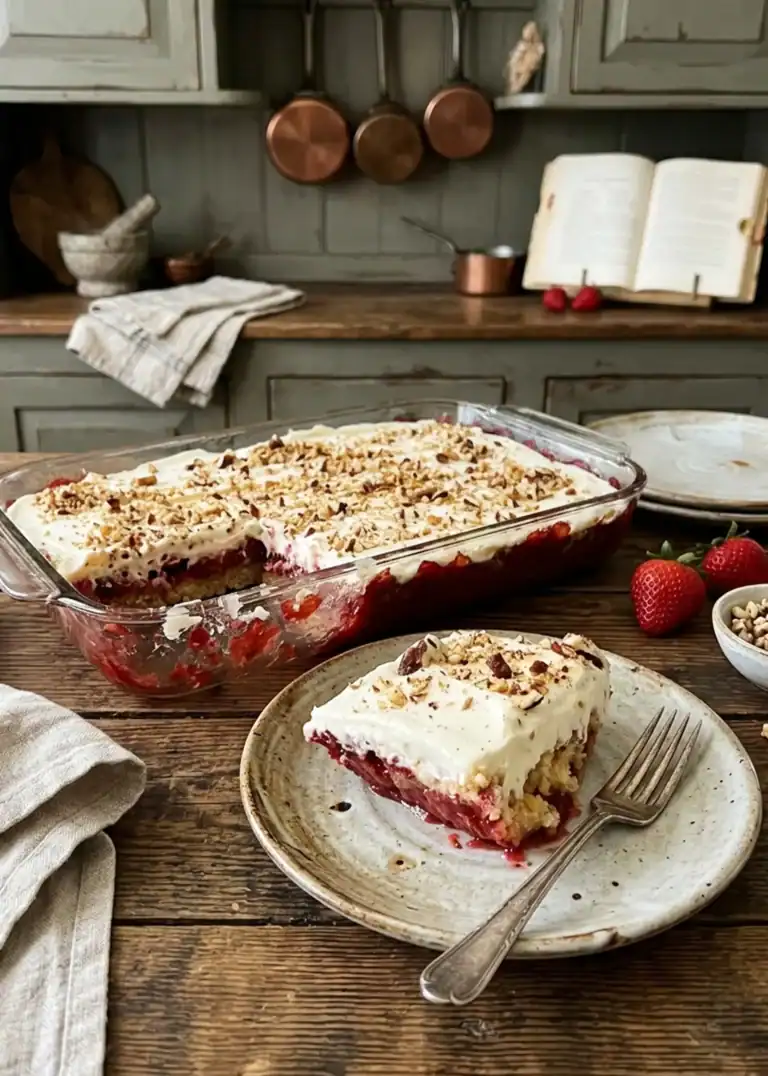
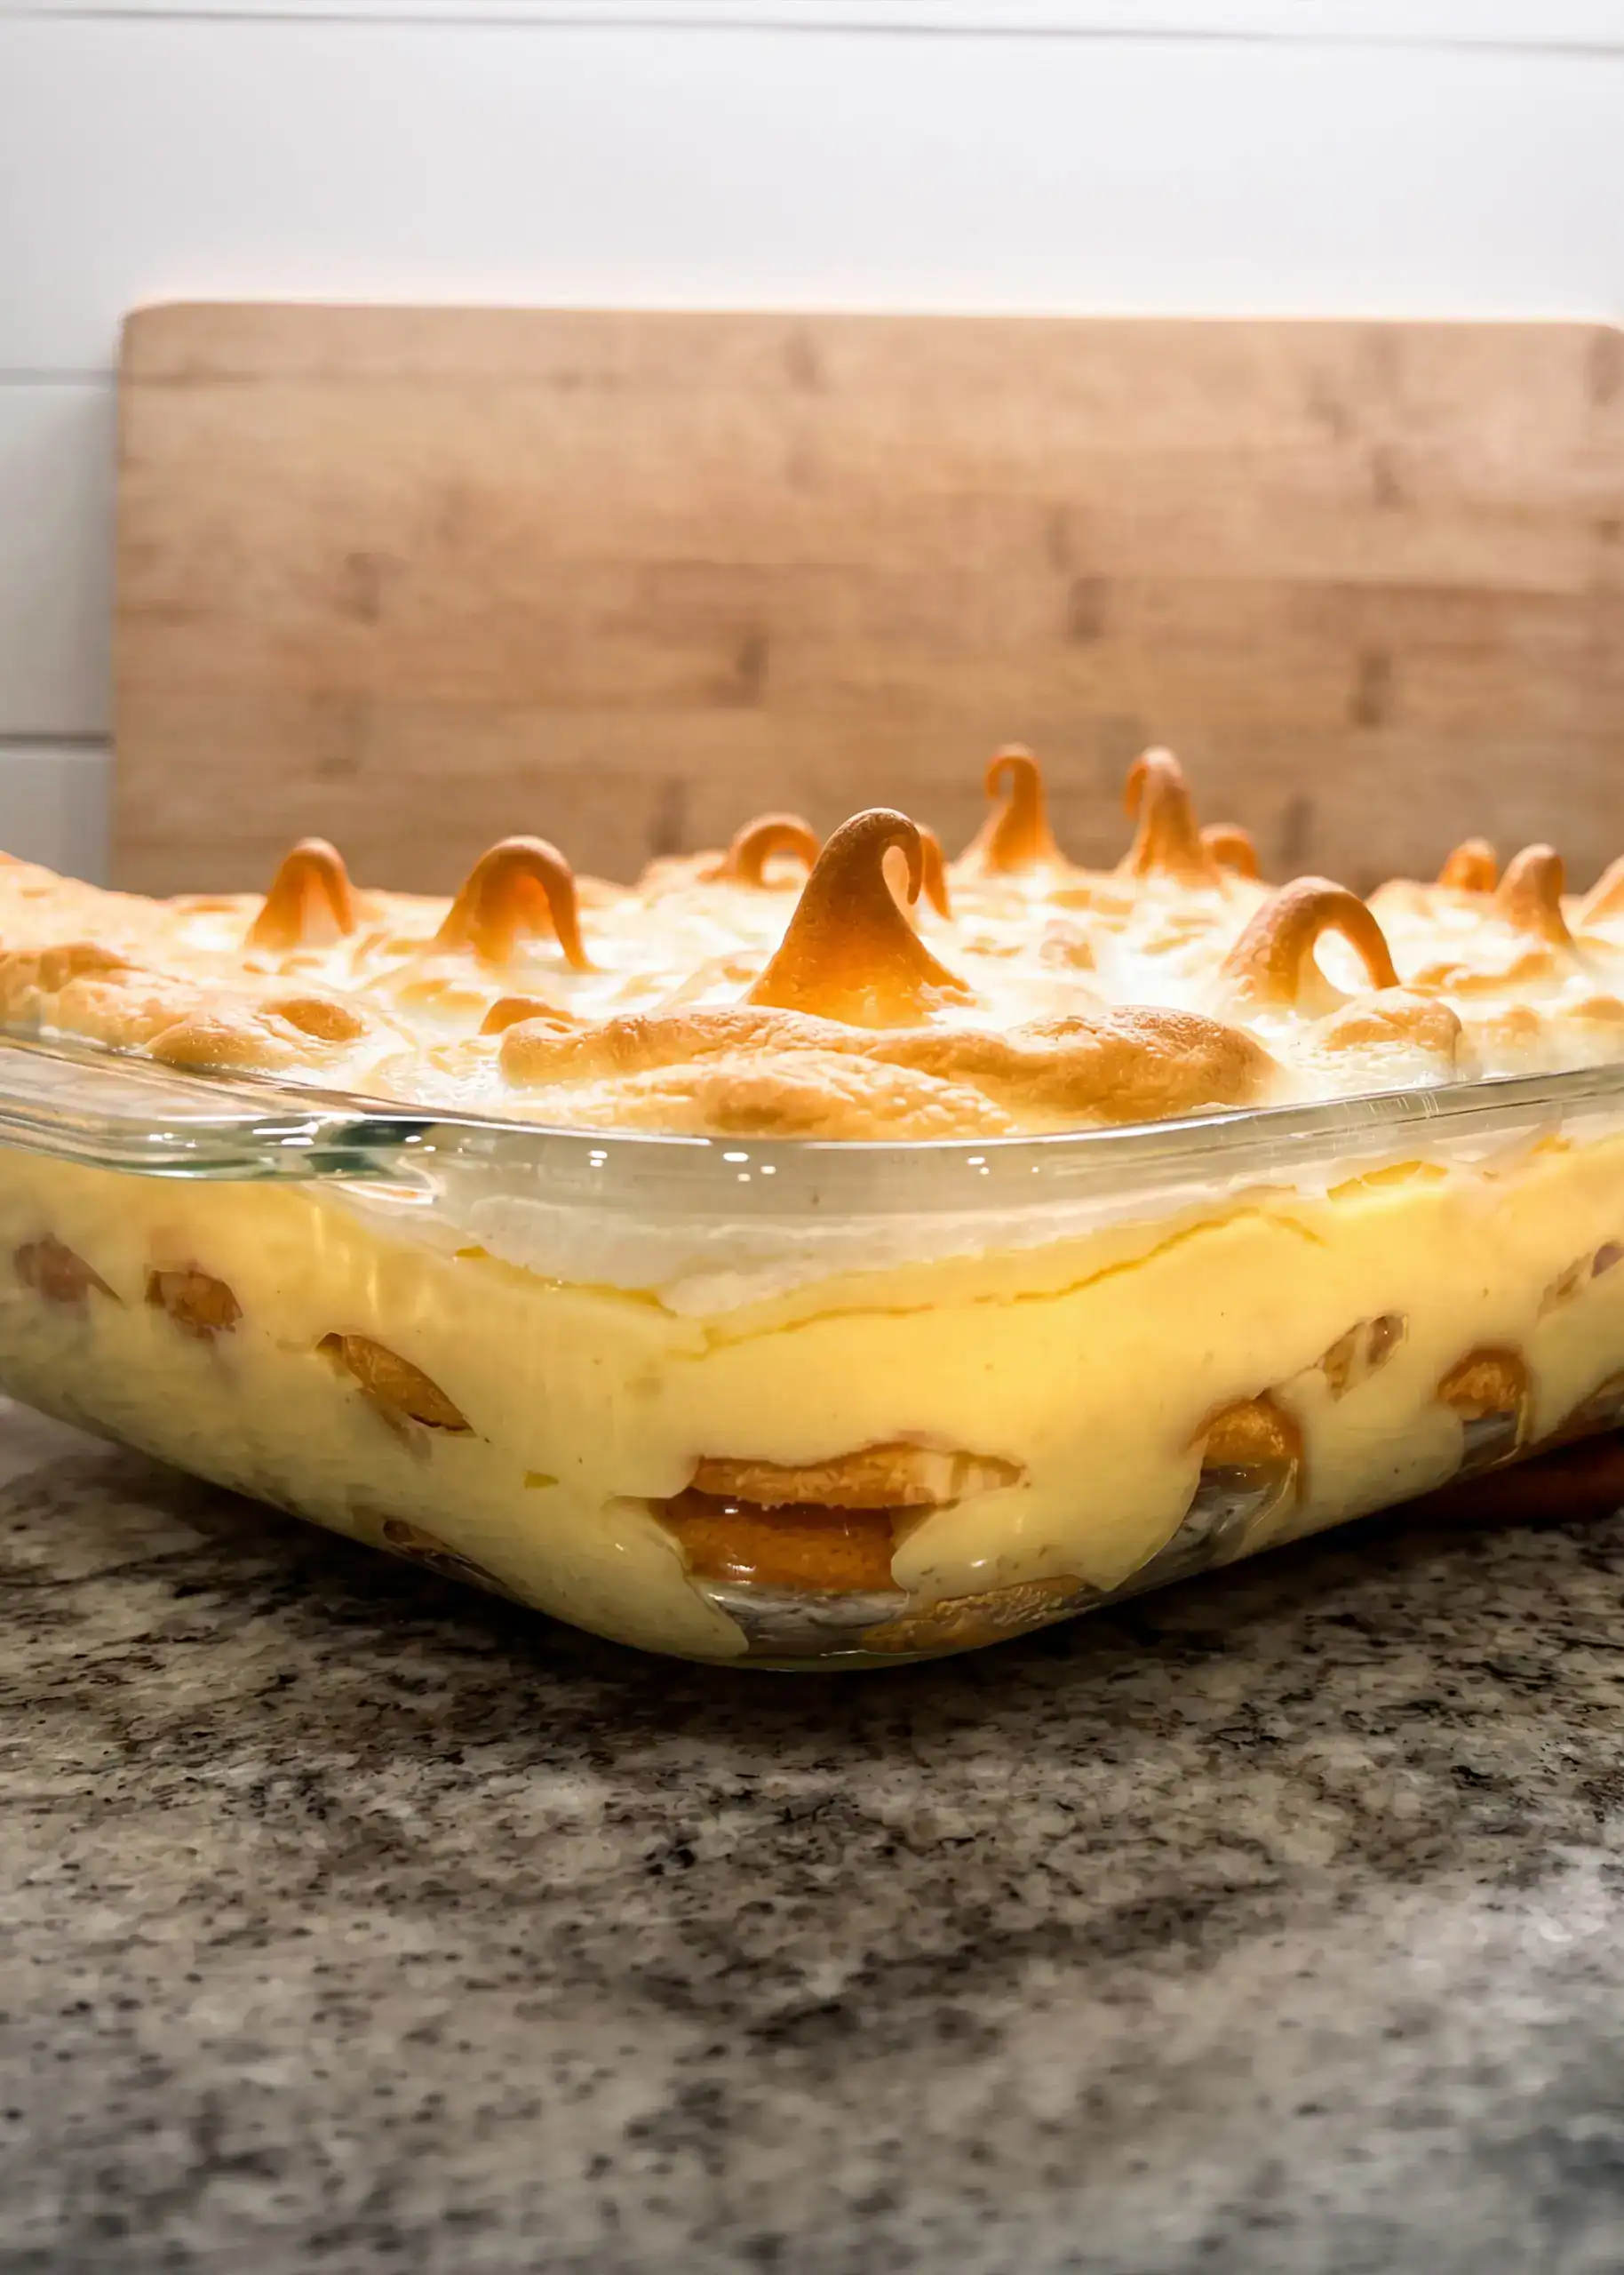
Old-Fashioned Banana Pudding
This is the banana pudding you remember — vanilla wafers, sweet ripe bananas, real cooked custard, and a toasted meringue on top. Two little things set this one apart: the custard gets cooked in the microwave instead of the stovetop (no constant stirring, no scorched bottom), and a quarter teaspoon of almond extract gets stirred in at the end. That tiny addition takes a good banana pudding and makes it one people ask you to make again. You’ll also learn the one trick that keeps the bananas from going mealy, which is what ruins most homemade banana puddings. Feeds a crowd.
A Little Story Before We Get to the Recipe
Here in the South, we love our banana pudding. And people have all kinds of opinions about which kind they like. Some folks swear by the no-bake version with instant pudding and whipped topping. Some like it cold. Some like it warm. Some want meringue, some want cream. Everybody’s got a favorite.
Me? I love a good old-fashioned banana pudding with real cooked custard and a pretty browned meringue on top. That’s the kind my daddy loves, too — it’s one of his favorite things in the world. In fact, he has a certain name he calls the meringue that’ll probably make you laugh, but you’ll have to watch the video to hear it. A lot of folks down here have their own slang for it.
Now, I’ll be honest — for years I made the custard on the stovetop. That’s the way my mama did it, and that’s the way her mama did it. You stand there stirring and stirring, watching like a hawk so it doesn’t scorch, praying it thickens up right. And nine times out of ten, it would. But that tenth time would keep you humble.
A few years back, I started cooking the custard in the microwave instead. I was a little skeptical at first, but I am telling you — it works beautifully. You get the same creamy, old-fashioned texture, but without all the fuss. You just do it in intervals, stir between each one, and watch it come together. No standing over a hot stove.
The other thing I do a little differently is I add a quarter teaspoon of almond extract at the very end, right along with the vanilla. I know — it doesn’t sound like much. But that tiny little bit of almond lifts the whole thing. It makes the banana flavor taste more like banana, if that makes any sense. The first time I made it this way, Darren took a bite and said, “What did you do different?” That’s when you know you’re onto something.
One more thing before we get to the recipe — and this is the tip that’ll save your banana pudding. When your custard is done, don’t pour it over the bananas while it’s piping hot. You want it warm, not hot. If it’s too hot, it starts to cook the bananas and they go mealy on you. Let it cool down a few minutes first. That little bit of patience is the difference between a banana pudding that’s okay and one that’s really, really good.
Alright, let’s make it.
Old-Fashioned Banana Pudding
Prep Time: 20 minutes Cook Time: 25 minutes (about 12 minutes of microwaving + meringue bake) Cool Time: 40–45 minutes Servings: 10–12
Ingredients
For the custard:
- 6 large eggs, separated (save the whites for the meringue)
- 1½ cups sugar
- ⅔ cup self-rising flour
- ½ teaspoon salt
- 5 cups milk
- 4 tablespoons (½ stick) butter, melted
- ½ teaspoon vanilla extract
- ¼ teaspoon almond extract
For the meringue:
- 6 egg whites (reserved from above)
- ⅓ cup sugar
- ½ teaspoon cream of tartar
For layering:
- 1 box vanilla wafers (about 11 oz)
- 4–6 ripe bananas, sliced
Instructions
- Separate your eggs first. Use two bowls — crack each egg over one bowl, then transfer the white to your mixing bowl. That way if a yolk breaks, you haven’t ruined the whole batch. Don’t worry if a little white sneaks into the yolks — that won’t hurt the custard. But keep the whites completely free of yolk, or your meringue won’t whip up.
- Melt your butter. Four tablespoons in the microwave. Set it aside to cool slightly.
- Mix your dry ingredients. In a large microwave-safe bowl (you’ll need a big one — trust me), whisk together the sugar, self-rising flour, and salt. That little whisk helps break up the flour so you don’t get lumps.
- Add the wet ingredients. Add the 6 egg yolks and all 5 cups of milk to the dry ingredients. Whisk until smooth. Then pour in the melted butter and whisk that in too.
- Cook the custard in the microwave. Put the bowl in the microwave for 3 minutes first. Pull it out and whisk well — it’ll still be very liquidy. Then go back in for 2-minute intervals, whisking between each one. As it starts to thicken (usually around the 8–10 minute mark), switch to 1½-minute intervals, and then 30-second intervals right at the end. Total cook time is usually around 12 minutes, but watch your microwave — they all cook a little different. You’re looking for a thick, creamy pudding consistency. A little jiggle is fine.
- Start the meringue while the custard cooks. In your stand mixer with the whisk attachment, combine the 6 egg whites, ⅓ cup sugar, and ½ teaspoon cream of tartar. Start on medium speed and let it run until you get stiff peaks — the peaks should stand up and not flop over when you pull the whisk out. This takes several minutes. Watch it closely toward the end.
- Finish the custard. Once the custard is done, stir in ½ teaspoon vanilla extract and ¼ teaspoon almond extract. Don’t skip the almond — it’s the whole point.
- Let the custard cool a bit. Pour about half the custard into a second bowl. Letting it cool for a few minutes keeps it from cooking your bananas when you layer. You want warm, not hot.
- Layer the pudding. In a 9×13 baking dish, lay down a layer of vanilla wafers across the bottom. Slice the bananas right over the dish and scatter them over the wafers. Pour on half the custard and spread it out. Repeat with another layer of wafers, bananas, and the remaining custard.
- Top with meringue. Spoon the meringue over the top and spread it all the way out to the edges of the dish — you want it sealed to the sides. Use the back of your spoon to make pretty peaks.
- Bake. Pop it in a preheated 350°F oven for 6–10 minutes, until the meringue is browned to your liking. If you like it on the darker side (I do), you might need to bump the oven up a little higher toward the end.
- Let it rest. This is the hardest part — wait at least 30–45 minutes before serving. It’s still delicious slightly warm, but the custard needs a little time to settle.
FAQs
1. Why cook the custard in the microwave instead of on the stove? It’s easier and more forgiving. Stovetop custard can scorch fast if you turn your back, and it has to be stirred constantly. Microwave custard gives you the same creamy old-fashioned texture but lets you stir between intervals instead of nonstop. Once you try it, you may not go back.
2. Why add almond extract to banana pudding? Just a quarter teaspoon of almond extract lifts and brightens the banana flavor. It’s subtle — nobody will taste almond specifically — but they will say, “What did you do to this?” It’s the little trick that makes this banana pudding stand out.
3. Can I use instant pudding instead of making the custard? You can, and plenty of good banana puddings are made that way. But if you’ve never had one with real cooked custard, it’s worth the extra 15 minutes. The texture is richer and the flavor is deeper.
4. What kind of bananas should I use? Ripe but not overripe. You want them fully yellow with maybe a few small brown specks — sweet enough to taste like banana, firm enough to hold their shape when you slice them. Mushy brown bananas will turn the pudding watery.
5. Why do my bananas turn mealy in banana pudding? Two reasons — either the bananas were too ripe to start with, or the custard was too hot when it went over them and essentially cooked them. Let your custard cool for a few minutes before layering. Warm is fine; hot is not.
6. Can I use all-purpose flour instead of self-rising? Yes — just add ¾ teaspoon baking powder to the dry ingredients. Self-rising already has the salt and leavening built in, which is why the recipe is written that way.
7. Do I have to make meringue? Can I use whipped cream instead? You don’t have to. Some folks top their banana pudding with sweetened whipped cream or Cool Whip and skip the baking step. It’s a different dessert that way — cooler, lighter — but still delicious. Meringue gives it that classic old-fashioned look and a little bit of toasty flavor on top.
8. Why won’t my meringue whip up? Almost always because a little bit of egg yolk got into the whites when you separated the eggs. Even a tiny amount of fat will keep the whites from forming stiff peaks. That’s why I separate each egg over its own bowl before adding the white to the mixing bowl — if one breaks, you haven’t ruined all of them.
9. How long does banana pudding keep? It’s best eaten the day you make it. You can cover and refrigerate leftovers for 1–2 days, but the bananas will start to brown and the wafers will get softer. The flavor is still good — it just looks a little less pretty.
10. Can I make banana pudding ahead of time? You can make the custard a few hours ahead and refrigerate it — just warm it briefly before layering. I wouldn’t assemble the whole pudding more than a few hours in advance, though, because of the bananas. If you’re taking it somewhere, assembling it close to serving time gives you the best results.
Did you make this old-fashioned banana pudding? Leave a comment and let me know — and don’t forget to guess what my daddy calls the meringue!
And if you have a recipe you’d love to share with us, head over to our recipe submission form — your recipe might be featured in a future From Your Kitchen to Ours video!
Old-Fashioned Banana Pudding
Ingredients
For the custard:
- 6 large eggs separated (save the whites for the meringue)
- 1½ cups sugar
- ⅔ cup self-rising flour
- ½ teaspoon salt
- 5 cups milk
- 4 tablespoons ½ stick butter, melted
- ½ teaspoon vanilla extract
- ¼ teaspoon almond extract
For the meringue:
- 6 egg whites reserved from above
- ⅓ cup sugar
- ½ teaspoon cream of tartar
For layering:
- 1 box vanilla wafers about 11 oz
- 4-6 ripe bananas sliced
Instructions
- Separate your eggs first. Use two bowls — crack each egg over one bowl, then transfer the white to your mixing bowl. That way if a yolk breaks, you haven't ruined the whole batch. Don't worry if a little white sneaks into the yolks — that won't hurt the custard. But keep the whites completely free of yolk, or your meringue won't whip up.
- Melt your butter. Four tablespoons in the microwave. Set it aside to cool slightly.
- Mix your dry ingredients. In a large microwave-safe bowl (you'll need a big one — trust me), whisk together the sugar, self-rising flour, and salt. That little whisk helps break up the flour so you don't get lumps.
- Add the wet ingredients. Add the 6 egg yolks and all 5 cups of milk to the dry ingredients. Whisk until smooth. Then pour in the melted butter and whisk that in too.
- Cook the custard in the microwave. Put the bowl in the microwave for 3 minutes first. Pull it out and whisk well — it'll still be very liquidy. Then go back in for 2-minute intervals, whisking between each one. As it starts to thicken (usually around the 8–10 minute mark), switch to 1½-minute intervals, and then 30-second intervals right at the end. Total cook time is usually around 12 minutes, but watch your microwave — they all cook a little different. You're looking for a thick, creamy pudding consistency. A little jiggle is fine.
- Start the meringue while the custard cooks. In your stand mixer with the whisk attachment, combine the 6 egg whites, ⅓ cup sugar, and ½ teaspoon cream of tartar. Start on medium speed and let it run until you get stiff peaks — the peaks should stand up and not flop over when you pull the whisk out. This takes several minutes. Watch it closely toward the end.
- Finish the custard. Once the custard is done, stir in ½ teaspoon vanilla extract and ¼ teaspoon almond extract. Don't skip the almond — it's the whole point.
- Let the custard cool a bit. Pour about half the custard into a second bowl. Letting it cool for a few minutes keeps it from cooking your bananas when you layer. You want warm, not hot.
- Layer the pudding. In a 9×13 baking dish, lay down a layer of vanilla wafers across the bottom. Slice the bananas right over the dish and scatter them over the wafers. Pour on half the custard and spread it out. Repeat with another layer of wafers, bananas, and the remaining custard.
- Top with meringue. Spoon the meringue over the top and spread it all the way out to the edges of the dish — you want it sealed to the sides. Use the back of your spoon to make pretty peaks.
- Bake. Pop it in a preheated 350°F oven for 6–10 minutes, until the meringue is browned to your liking. If you like it on the darker side (I do), you might need to bump the oven up a little higher toward the end.
- Let it rest. This is the hardest part — wait at least 30–45 minutes before serving. It's still delicious slightly warm, but the custard needs a little time to settle.